 By Claire Whitaker
Updated November 2026
Trellises for indoor plants give climbing and trailing houseplants something to grip, so they grow upward instead of sprawling across the floor or flopping over the edge of a pot. This guide walks you through choosing the right trellis for your plant, installing it safely in a container, training stems onto it and keeping the whole setup healthy over time. By the end, you will have a plan you can apply to pothos, philodendron, monstera and similar climbers.
Why Indoor Plants Benefit From a Trellis
Many popular houseplants are climbers in their native habitats. In the wild, they latch onto tree trunks with aerial roots or tendrils and reach toward light. Indoors, that instinct does not disappear. A vine without support tends to grow long, thin and leggy, with big gaps between leaves. A trellis gives the stem something to hold, which encourages thicker growth, larger leaves and a fuller shape. It also saves floor and shelf space, since a plant growing vertically takes up far less room than one trailing across a table.
Shopping for one? See our guide: 4 Best Indoor House Plants Stands for Small Spaces and Sunny Windows.
Support matters for larger plants too. A heavy monstera can topple a lightweight pot once its leaves get big. A sturdy trellis anchors the plant and distributes its weight, which reduces the risk of snapped stems and tipped containers.
Step 1: Identify Whether Your Plant Needs a Trellis
Not every houseplant benefits from vertical support. Before buying anything, check the growth habit of your plant:
- Climbers with aerial roots (monstera, philodendron, Scindapsus) do best on a moss pole or a trellis with a textured surface they can cling to.
- Vining plants with tendrils or soft stems (some hoyas, passion vines, cissus) wrap around thin supports and do well on wire or lattice frames.
- Trailing plants (pothos, heartleaf philodendron, string of hearts) can be trained up a trellis, but they also look attractive cascading from a hanging basket or shelf. Choose based on the look you want.
- Bushy or upright plants generally do not need a trellis, though a small stake can help a top-heavy stem.
If your plant has a single thick stem and large leaves, it will likely need a stake or pole rather than a flat trellis. A flat lattice works better for plants with many thin, spreading vines.
Step 2: Choose the Right Trellis Type and Material
Indoor trellises come in several styles. Each suits a different plant and room setup.
Common trellis styles
- Moss poles: A column wrapped in sphagnum moss or coir. Best for aerial-root climbers because the roots can grip and absorb moisture from the pole.
- Coir or cork poles: A longer-lasting alternative to moss. Coir holds moisture well, and cork is more rot-resistant.
- Flat lattice or garden-style trellises: Good for vining plants and for wall or corner placement. Choose one with spacing wide enough to weave stems through.
- Wire or ring frames: Useful for delicate vines like hoyas and small-leaved climbers. They are lightweight and visually open.
- Bamboo stakes or garden cages: Budget-friendly options for light climbers. They work well in small pots.
Materials to consider
Choose a material that suits your watering habits and décor. Plastic-coated metal resists rust and moisture. Untreated wood can rot if it stays wet, so look for sealed or treated wood. Natural materials like bamboo and coir blend well with a room’s look but may need replacing after a few seasons. Avoid any material that will leach color or chemicals into the soil.
Step 3: Size the Trellis to the Plant and Pot
A common mistake is buying a trellis that is too short. Plan for the plant to outgrow the support. As a general guide:
| Plant size | Pot diameter | Suggested trellis height |
|---|---|---|
| Small vine (e.g., young pothos) | 4 to 6 inches | 12 to 18 inches |
| Medium climber (e.g., heartleaf philodendron) | 6 to 8 inches | 24 to 36 inches |
| Large climber (e.g., monstera) | 10 to 12 inches | 48 to 72 inches |
These are starting points, not rules. Fast-growing plants in bright light will need more height sooner. Measure your ceiling and furniture as well, so the finished plant fits the space.
Step 4: Install the Trellis Correctly
Install the trellis when you repot or when the plant is still young, so you do not damage the root ball later.
Installation steps
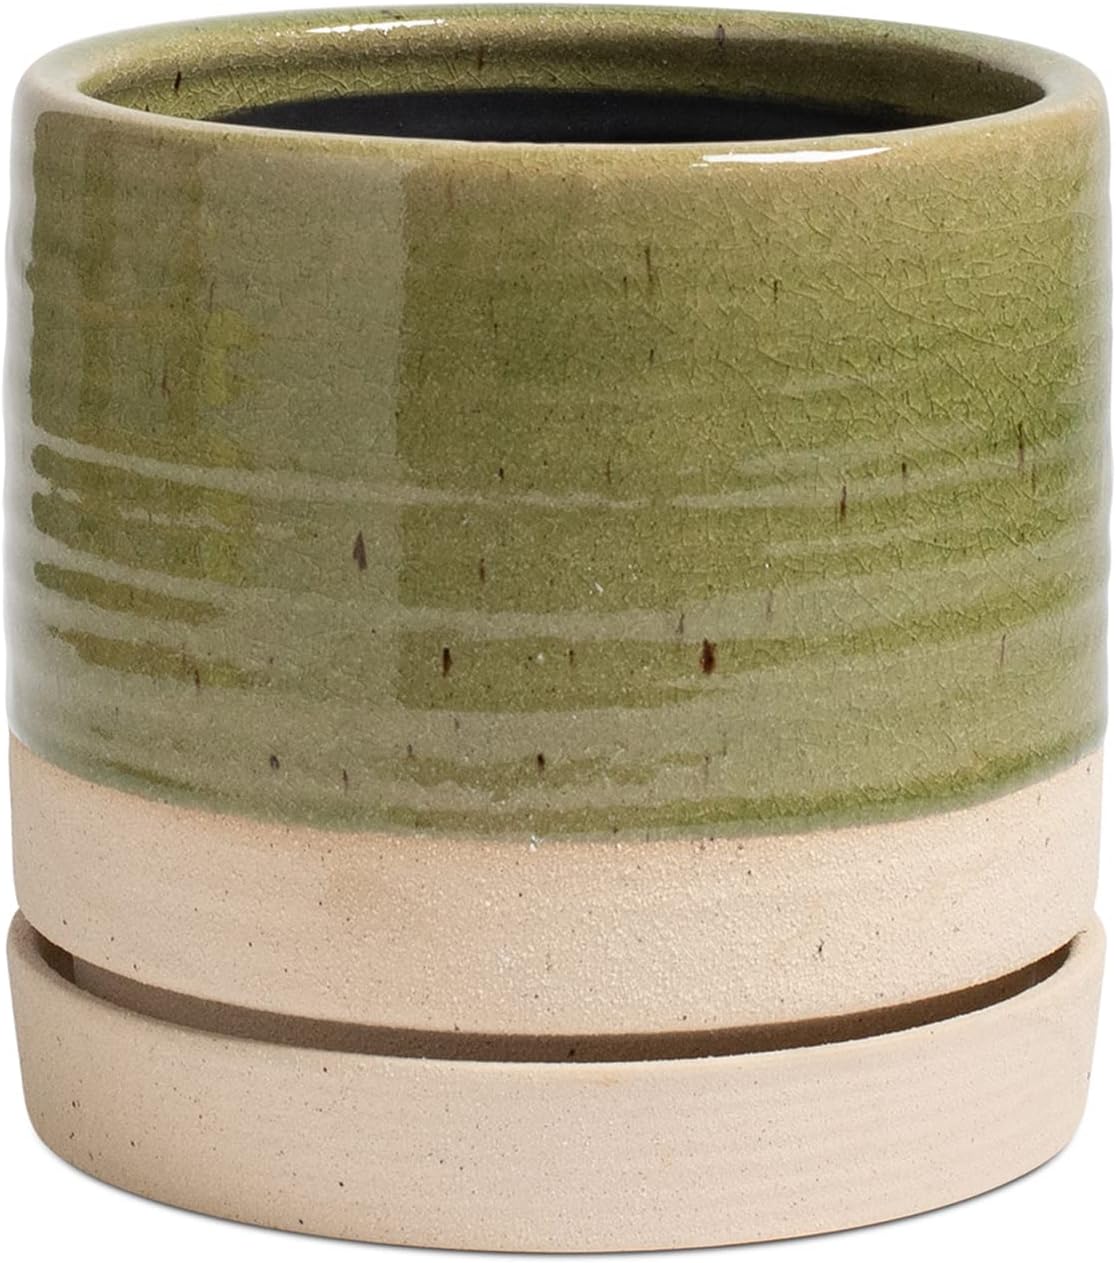
- Choose a pot with enough drainage holes and a base wide enough to keep the trellis stable. A heavy ceramic or terra cotta pot works well for tall supports.
- Place the trellis in the pot before adding soil. Press it firmly into the root zone about 1 to 2 inches from the root ball, so it does not puncture roots.
- Fill the pot with a well-draining potting mix, such as one that combines peat or coir with perlite and bark. Firm the soil around the base of the trellis.
- Set the plant at the same depth it grew before. Planting too deep can cause stem rot.
- Tie the main stem loosely to the trellis with soft plant ties or strips of cloth. Leave room for the stem to thicken.
Tools you will need
- A trellis or pole sized to your plant
- A pot with drainage holes, one or two inches wider than the root ball
- Well-draining potting mix
- Soft plant ties or twist ties covered in fabric or vinyl
- Scissors or pruning snips
- A watering can with a narrow spout
Step 5: Train Stems Onto the Trellis
New growth will not always find the support on its own. Training is ongoing work for the first few months.
Guiding growth
Each time a new stem reaches 4 to 6 inches, gently guide it toward the trellis and attach it with a tie. Attach at a node, which is the small bump where a leaf meets the stem, to avoid strain. Use a loose figure-eight loop so the tie does not cut into the stem as it grows.
Encouraging aerial roots
For moss poles, mist the pole regularly and press aerial roots into the moss. Once the roots reach the moss, they will often anchor themselves within a few weeks. Keep the moss damp but not soggy.
Pruning for shape
Pinch out leggy stems or trim growth that heads away from the trellis. Pruning above a node encourages branching and a fuller plant. Remove any yellow or damaged leaves at the base.
Step 6: Water and Feed for Vertical Growth
A trellised plant needs consistent moisture, especially on moss or coir poles, which can dry out faster than the surrounding soil. Water the root zone thoroughly, let excess drain, and check the moss or coir with a finger before watering again. Feed with a balanced liquid houseplant fertilizer at half the label strength during the active growing season, roughly spring through early fall. Stop feeding in winter when growth slows.
Step 7: Maintain and Replace the Trellis Over Time
Check ties every few weeks. As stems thicken, loosen or replace them so they do not girdle the stem. Inspect the trellis for rot, rust or loose joints, and replace damaged parts promptly. Moss poles usually need refreshing or replacing every year or two, depending on wear. If the plant outgrows its support, move it to a taller trellis at the next repotting, in spring or early summer.
Common Mistakes
- Buying too small a trellis. Plants grow faster than most people expect. Go one size up.
- Pushing the trellis through roots. Place it near the edge of the root ball, not through the center.
- Tying stems too tightly. Tight ties can girdle stems and cause dieback above the tie.
- Letting moss poles dry out. Dry moss stops aerial roots from anchoring and weakens the support.
- Overwatering to keep poles damp. Wet soil and poorly drained pots invite root rot. Keep the pot draining freely.
- Ignoring light. A climber in dim light will grow slowly and reach little height. Check your room’s light before expecting rapid growth. For guidance, see Understanding Light Levels for Healthy Indoor Plants.
Tips for Success
- Start with a plant that naturally climbs. Monstera, pothos and philodendron are well suited to trellis training.
- Rotate the pot every few weeks so the plant grows evenly on all sides.
- Mist aerial-root climbers a few times a week, or use a humidifier if your home runs dry.
- If you are new to houseplant care in general, Indoor Plant Care for Beginners: A Step-by-Step Guide covers the basics of watering, light and soil.
- For ideas on other plants that thrive in similar conditions, see Tropical Plants for Indoor Use: 9 Picks That Thrive in Your Home.
- If leaves yellow or spots appear after training, check for stress or pests with How to Diagnose and Fix Common Indoor Plant Issues.
Recommended gear
- Moss pole for aerial-root climbers: A sphagnum moss or coir pole gives roots something to grip and holds moisture around the base of the plant. View on Amazon
- Plant ties: Soft, vinyl-coated ties hold stems without cutting into them as they thicken. View on Amazon
- Lightweight garden-style trellis: A small lattice or wire frame suits vining plants and fits neatly in a corner pot. View on Amazon
- Well-draining potting mix: A mix with perlite and bark keeps the root zone from staying waterlogged around a support. View on Amazon
FAQ
Do all indoor climbing plants need a trellis?
No. Trailing plants like pothos can thrive in hanging baskets without support. A trellis mainly helps climbers with aerial roots or tendrils, and it produces a fuller, more upright shape.
Should I use a moss pole or a flat trellis?
Use a moss pole for aerial-root climbers such as monstera and philodendron. Use a flat or lattice trellis for thin-stemmed vines that weave through openings.
When is the best time to install a trellis?
Install it at repotting, ideally in spring or early summer when the plant is actively growing. Installing it later risks damaging the root ball.
How far from the stem should I place the trellis?
Set the trellis about 1 to 2 inches from the root ball so it does not cut through roots, then train stems toward it as they grow.
How often should I water a plant on a moss pole?
Check the moss by touch and water when the top inch of the pole feels dry, while the soil is also drying. The pole should stay damp, not soggy. Frequency depends on your home’s humidity and light.
Will a trellis make my plant grow faster?
It can encourage larger leaves and healthier growth because the plant can climb rather than sprawl. Overall growth speed still depends on light, water and feeding.
Can I reuse a trellis for a different plant?
Yes, if it is clean and undamaged. Wash it with mild soap and water, let it dry fully, and check for rot or rust before using it again.
What if my plant is not attaching to the moss pole?
Keep the moss consistently damp, mist the pole, and gently press aerial roots against it. Attachment can take several weeks, so be patient and avoid overwatering the soil.
Conclusion
Trellises for indoor plants turn sprawling vines into tidy, upright specimens and make the most of limited space. Choose a support that matches your plant’s growth habit, size it generously, install it at repotting, and train stems as they grow. With consistent watering and light, your climber should reward you with fuller growth and bigger leaves within a few months.
Ready to choose one?
About Claire Whitaker
Claire Whitaker is part of our editorial team and reviews and edits our plant care Q&A guides, checking product details against manufacturer specifications and owner feedback.